Guide: How to Deploy an n8n Workflow Automation Server on Fly.io (With Docker + flyctl)
Learn how to deploy an n8n server on Fly.io using Docker and flyctl. This step-by-step guide helps you host automation workflows easily.

Ever since discovering fly.io I've always been a big fan. The first time I ever used it was on a side project where I needed a tiny node server to host an express API that counted likes for my other blog PlaywrightSolutions.com.
Spinning up a server using the flyctl on the terminal from my mac was a magical experience. In this article I'll walk through setting this up on your local machine along with a few helper files to begin hosting your own n8n server on fly.io.
Are you technical and want to just skip the the final config.
Installing flyctl – The Fly.io CLI Tool
To deploy apps with Fly.io, you'll need their command-line tool: flyctl. Here's a quick guide to get it installed on your system.
Option 1: Install with Homebrew (macOS and Linux)
If you already use Homebrew, installing flyctl is as easy as running:
brew install flyctlThat’s it! You’re ready to use flyctl right away.
Option 2: Install with the Script (All Platforms)
If you don’t have Homebrew, no problem — Fly.io provides an install script that works across systems.
On macOS or Linux:
Open your terminal and run:
curl -L https://fly.io/install.sh | shAfter the install completes, you’ll need to add flyctl to your shell’s PATH. The install script will display the exact lines to add. Look for something like this in your terminal output:
Add this to your ~/.bashrc, ~/.zshrc, or ~/.bash_profile
export PATH="$HOME/.fly/bin:$PATH"
Add that to your shell config file, then restart your terminal or run source ~/.zshrc (or the relevant file) to apply the change.
Installing on Windows
To install flyctl on Windows, open PowerShell and run:
pwsh -Command "iwr https://fly.io/install.ps1 -useb | iex"⚠️ If you get an error sayingpwshis not recognized, you're likely using an older version of PowerShell. You can replacepwshwithpowershell, but it's recommended to install the latest PowerShell version for best compatibility.
Verify the Installation
After installing, run:
fly versionIf it returns a version number, you are good to go. I've also linked the fly.io documentation below for reference.

Deploying n8n to Your Fly.io Server
Now that flyctl is installed, let’s create our n8n server!
Step 1: SignIn to Fly.io From Your Terminal
Before deploying, you’ll need to login to your Fly.io account from your terminal. If you don't have an account yet, that's ok, the following command will take you to be able to create one. Enter the following command
fly auth loginThis opens a browser window where you can authenticate or create an account with Fly.io.
You should have a success message like below.
Waiting for session... Done
successfully logged in as <email_used>
Step 2: Create a New Fly.io App
First you'll want to create a new folder since we will plan to build n8n from a Dockerfile. I named my folder fly-n8n-config. This is where I manage my n8n instance from. Once created go ahead and cd into this directory and we're ready to run our next command.
fly launchYou’ll be prompted to:
- Accept the defaults or tweak these settings before proceeding
- Type:
yes - This will take you to a web interface where you can customize your app.
The important Fields that you will want to customize.
- App name: This is the base url that your app will be deployed to, make it unique to you.
- Region: Likely the closest region is set for your server already double check this.
- The rest of the settings are fine for now, Click Confirm Settings button at the bottom of the screen.
Back to your terminal, you will notice there is now a created fly.toml file that was created from the command.
# See https://fly.io/docs/reference/configuration/ for information about how to use this file.

app = 'n8ntips'
primary_region = 'iad'

[http_service]
  internal_port = 8080
  force_https = true
  auto_stop_machines = 'stop'
  auto_start_machines = true
  min_machines_running = 0
  processes = ['app']

[[vm]]
  memory = '1gb'
  cpu_kind = 'shared'
  cpus = 1
We are going to come back to this to configure it on a later step and add some environment variables.
Step 3: Configure and Deploy the App
For this step we will first need a dockerfile created. Create the file and paste the below in the file. This will do 2 things. Use the n8n docker image and install a node package on the server. Feel free to add or remove the node package, I just wanted access to playwright in my n8n instance.
Create Dockerfile
# Dockerfile

FROM n8nio/n8n:latest
USER root
RUN npm install -g playwright
USER node
You'll also want to edit the fly.toml file to use this docker file and set some environment variables. I'm going to set the environment variables I use in my n8n configuration. Feel free to adjust as needed. Please note you will need to use yoru own app name, and N8N_HOST and WEBHOOK_URL should be replaced with your app name as well. You can always come back and update this and redeploy later if you need to make changes in the future.
Update fly.toml
# fly.toml

# See https://fly.io/docs/reference/configuration/ for information about how to use this file.

app = 'n8ntips'
primary_region = 'iad'

[build]
  dockerfile = "Dockerfile"

[env]
  EXECUTIONS_DATA_MAX_AGE = '168'
  EXECUTIONS_DATA_PRUNE = 'true'
  EXECUTIONS_DATA_PRUNE_MAX_COUNT = '10000'
  GENERIC_TIMEZONE = 'America/Chicago'
  NODE_FUNCTION_ALLOW_EXTERNAL= '*'
  N8N_COMMUNITY_PACKAGES_ALLOW_TOOL_USAGE= 'true'
  N8N_DIAGNOSTICS_ENABLED = 'false'
  N8N_HIRING_BANNER_ENABLED = 'false'
  N8N_HOST = '<replace_with_app_name>.fly.dev'
  N8N_PORT = '8080'
  N8N_PROTOCOL = 'https'
  TINI_SUBREAPER = 'true'
  N8N_RUNNERS_ENABLED = 'true'
  WEBHOOK_URL = 'https://<replace_with_app_name>.fly.dev'

[[mounts]]
  source = 'n8n_vol'
  destination = '/home/node/.n8n'
  auto_extend_size_threshold = 80
  auto_extend_size_increment = "1GB"
  auto_extend_size_limit = "5GB"

[http_service]
  internal_port = 8080
  force_https = true
  auto_stop_machines = 'stop'
  auto_start_machines = true
  min_machines_running = 1
  processes = ['app']

[http_service.concurrency]
    type = 'connections'
    hard_limit = 25
    soft_limit = 20

[[vm]]
  memory = '1024mb'
  cpu_kind = 'shared'
  cpus = 1
What I added:
- Build Dockerfile reference
- Environment Variables for n8n
- 5GB Volume Mount
- Set min_machines_running to 1 so we always have 1 running.
Build and Deploy n8n to Fly.io Machine
Once everything is saved, deploy with:
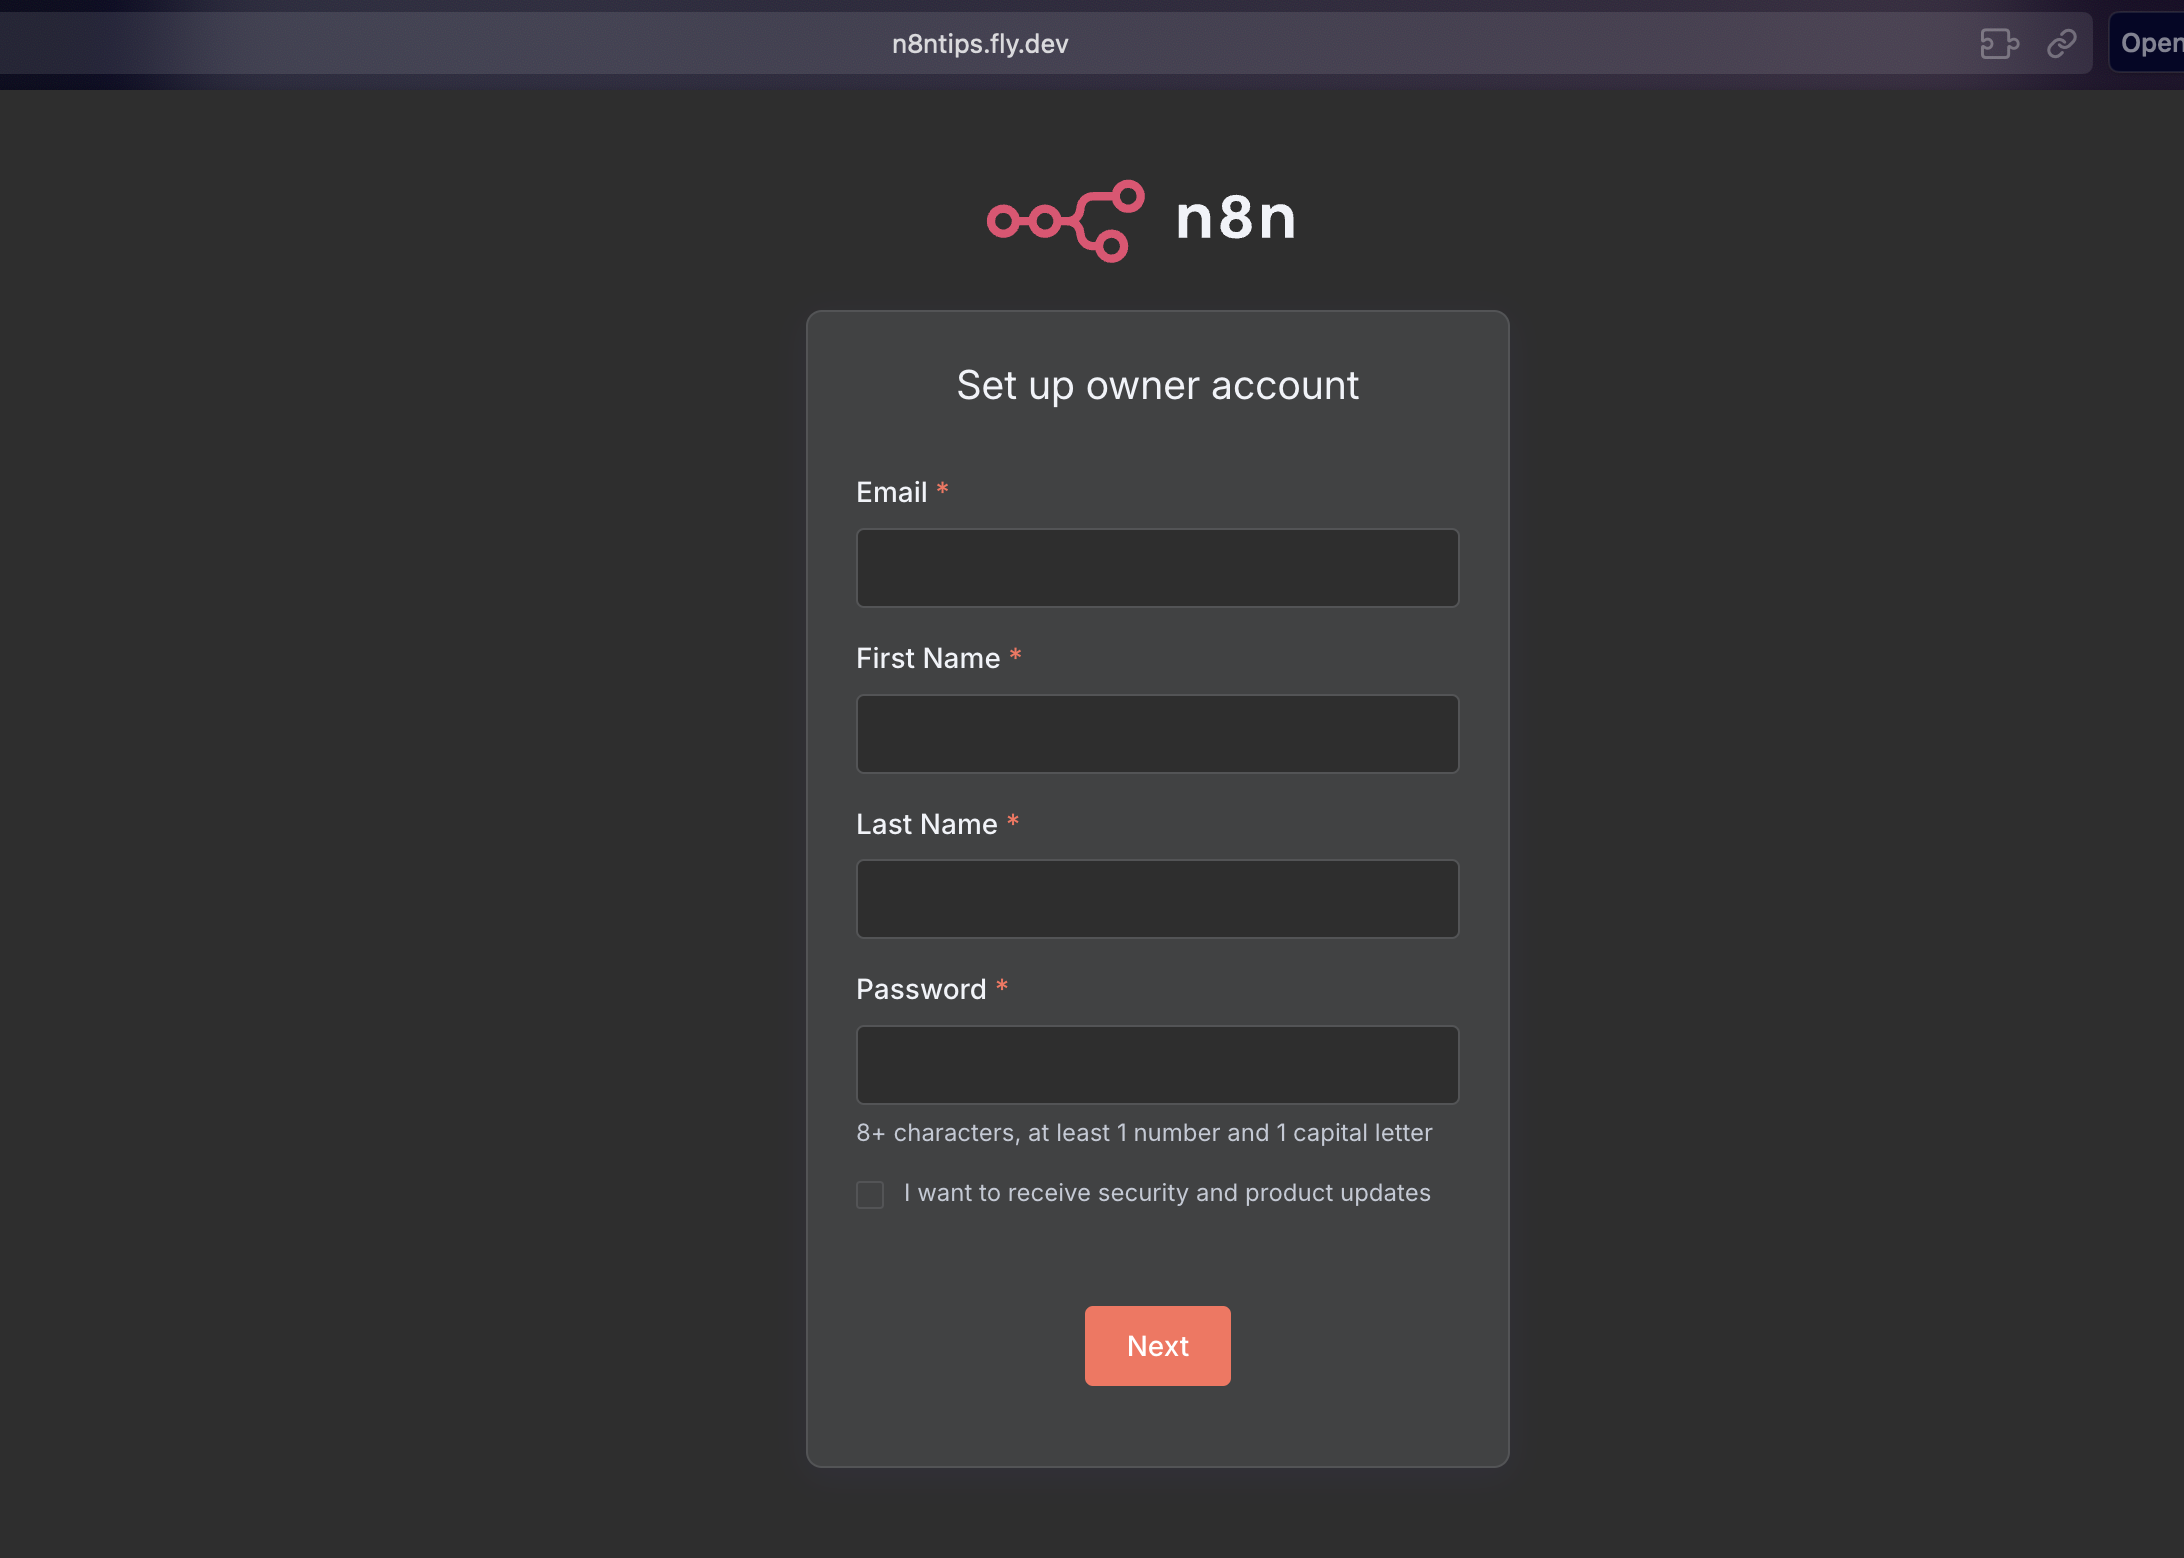
fly deployFly will build your app, provision infrastructure, and make it accessible online. After a few minutes you should get a success message along with a url to configure your n8n instance

Deploy Updates and Troubleshoot
Need to add additional packages or adjust the environment variables? Just makes changes to the fly.toml or Dockerfile and run:
fly deployFly will rebuild and redeploy your app with zero downtime.
With the line FROM n8nio/n8n:latest located in the Dockerfile. This will always pull the latest version of n8n that is released, if you need to lock into a certain version, you can change latest to the version number you would like to keep deployed.
If something goes wrong, these commands can help:
- Check logs:
fly logs
- See current app status:
fly statusNext Steps
Keep an eye on your server, as you may want to adjust machine size or add additional machines to handle heavy load. I've found if I wanted to run playwright code within n8n I did have to increase the memory to handle a web browser running in the back ground.
I've found Fly.io to be super flexible, easy to manage and a great place to host my n8n instances. I hope you find this helpful!
Did I miss something or is something out of date? I'd love to hear about it, signup and comment below. You can also connect with me LinkedIn.